Google Photos – How to backup from Android and manage Online

Google Photos offers users incredible storage options for all your precious photos so you never have to worry about losing them again. But how do you get set up so your photos are backed up? And once you have them backed up, how do you access them? Well fear not, because Pillar Consulting is here to help you along.
Let’s start out by looking at the options that Google giveth us – We have High Quality and Original, below are the details on what each of those mean.
High quality
- Unlimited free storage.
- Regular cameras: Recommended for phones or point-and-shoot cameras that are 16 megapixels (MP) or less.
- Uses: Good for typical printing and sharing.
- Size: Saves high-quality photos and videos while reducing size.
Original
- Limited free storage: Uses storage in your Google Account, regardless of photo or video size.
- DSLR cameras: Recommended if you take photos with a DSLR camera and want to maintain the exact original quality.
- Uses: Recommended for printing large banners or to store original files.
- Size: Stores your photos and videos exactly as you captured them.
If you’re like most people High quality storage is all you need and it’s completely free, you can literally store a million pictures if you want to take that many and it won’t cost you a cent. I can hear the alarm bells going off in some of your heads already, ‘There’s nothing free in life!’ and that’s probably true, by storing your photos Google has the right to scan them so their Artificial Intelligence algorithms can get better over time at recognizing what is in each image. That’s it, Google isn’t going to sell your pictures or do anything nefarious with them.
Android Backup
On your Android phone, find the Google Photos app and open it up. Click the  hamburger menu in the top left, then scroll down to the bottom and click Settings. You should now see a page similar to this:
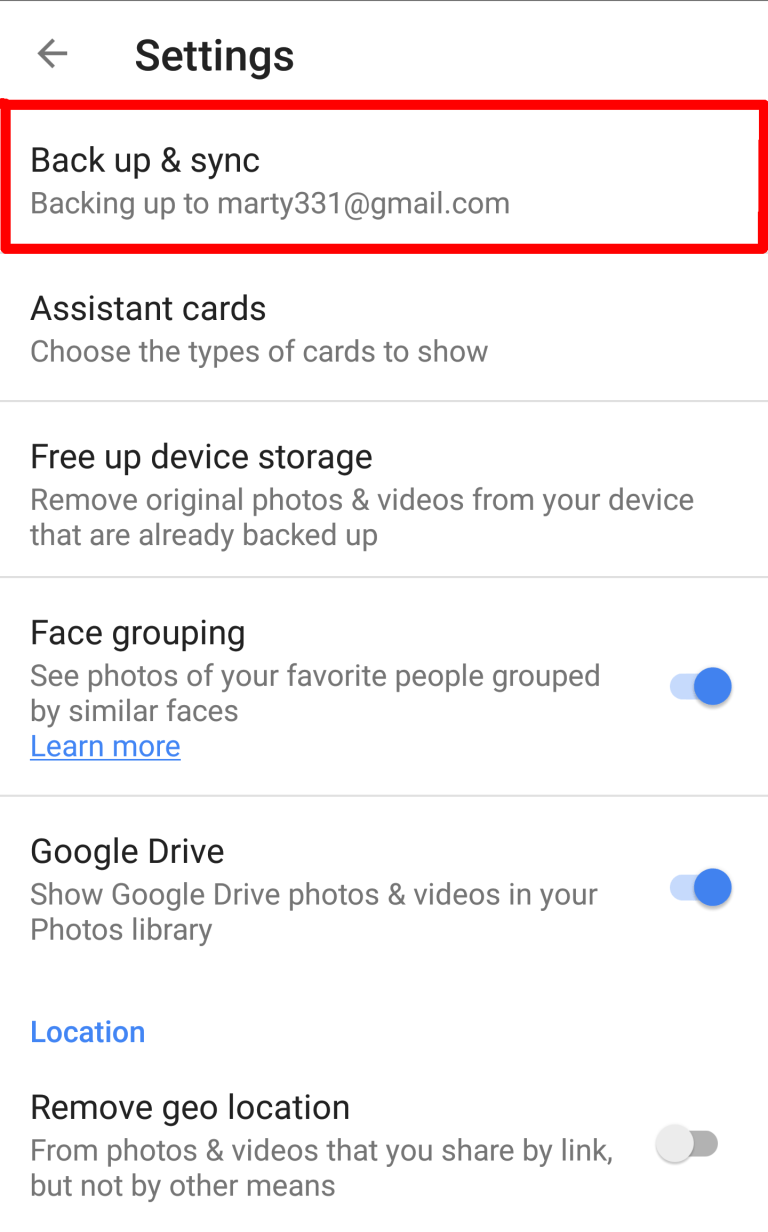
Click the ‘Back up & sync’ button and you’ll be taken to the backup and sync page, which looks like this:

There are several actions to take here – first make sure the gear is on (highlighted blue) for Back up & Sync, after that then click the Upload Size button to chose the type of upload you want, remember Original quality will use your storage space and could end up costing you money to back up but High quality is totally free.

After you’ve made that decision then click the Back up device folders button and choose which folders you want to auto-backup. The folders you have available will differ depending on what apps you have installed on your device but it will look similar to this:

From time to time I choose to not back up folders and only sync individual pictures or may choose to sync a folder, to accomplish this you will again click the hamburger menu and this time choose Device Folders. From here you can choose to backup an individual picture or sync an entire folder, just click the upload button like so-

With that we have our Android device all set to sync your photos to Google Photos, now we’ll go take a look at those photos in the cloud and see how we can view and retrieve them at a later time.
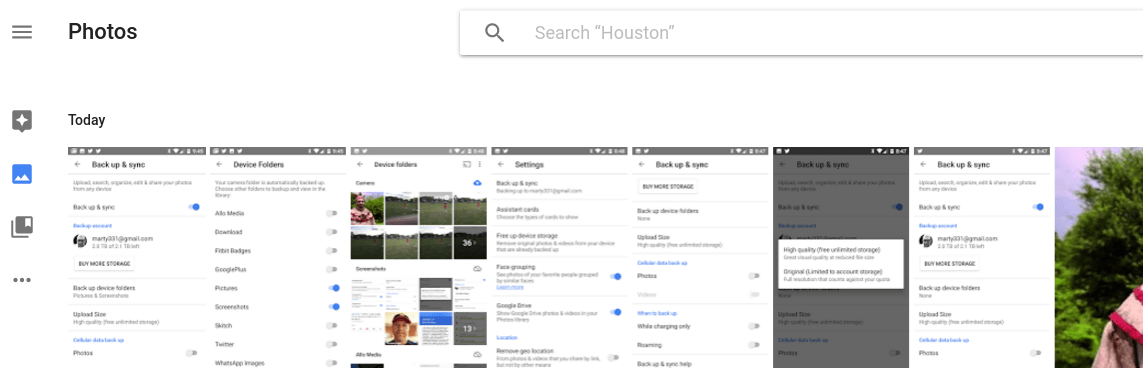
On your web browser (this works best on a computer and I reccomend using Google Chrome as the browser), navigate to https://photos.google.com If you’re not already signed in to your Google account you’ll be prompted to do so at this time. Once you’ve signed in you’ll be greeted with all the photos that you have backed up to your cloud, in reverse chronological order so you’ll see your most recent pictures first.
Here’s where things get really awesome, remember how I mentioned that Google would scan your pictures so their Artificial Intelligence gets better? So guess who gets to take advantage of that? That’s right, you do! Notice the Search box above your photos, go ahead and search your images for anything you might have. I’ll search for ‘dogs’ and lets see what Google brings back –

Of all the pictures that are immediately displayed only three of them don’t actually have dogs and of those two are of my son on a skating rink floor and a third is my daughter in a cat costume. Notice that dogs are displayed in all the other pictures – real dogs, fake dogs, kids in dog costumes, big dogs, little dogs. If I were to search for trees I would have similar results. I could also search for a day, a person, an event, etc. This AI is really amazing and only gets better as time goes on and more photos are scanned. To view any of the photos in full screen, simply click on the photo (you probably already found that option).
Download Photos
The last item to cover is to download your photos to your computer or phone. This is easily done simply select one or more pictures by hovering over the picture until you see the checkmark appear at the top left of the photo, you’ll click the checkmark and it will turn blue.
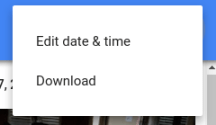
Do this with as many photos as you like and then click the  overflow button in the top right of the screen, this will bring up the overflow menu and you can select to download the photo.